

Create your assistant
An assistant is the thing candidates talk to. You build it across five steps, and nothing reaches candidates until you publish it.
If your account has a single assistant, selecting Assistant in the sidebar opens it directly — there's no list to go through. If your account has several, you'll see them grouped as Live, Drafts and Ended, and New assistant starts another.
Basics
The first step is everything candidates see before they've asked anything.
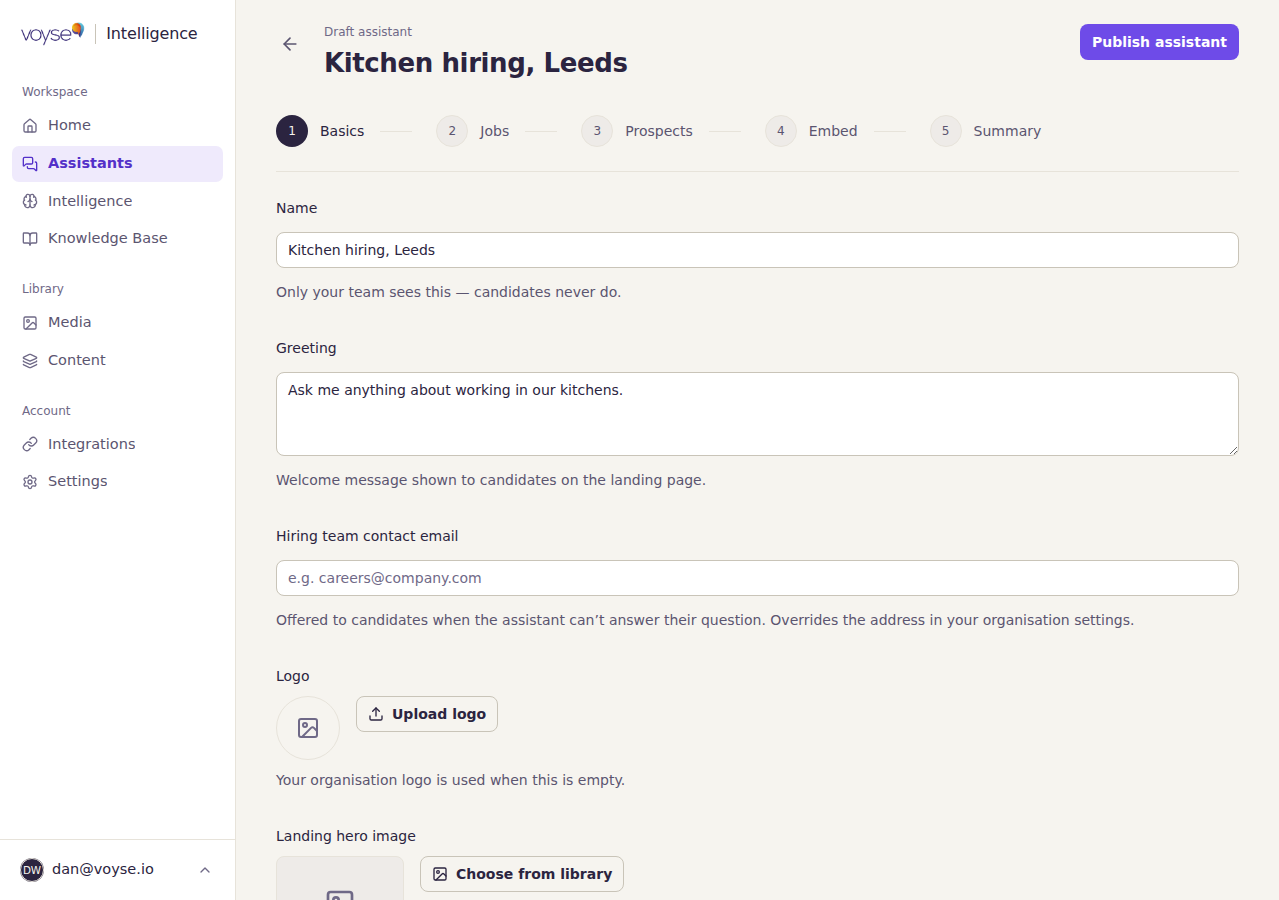
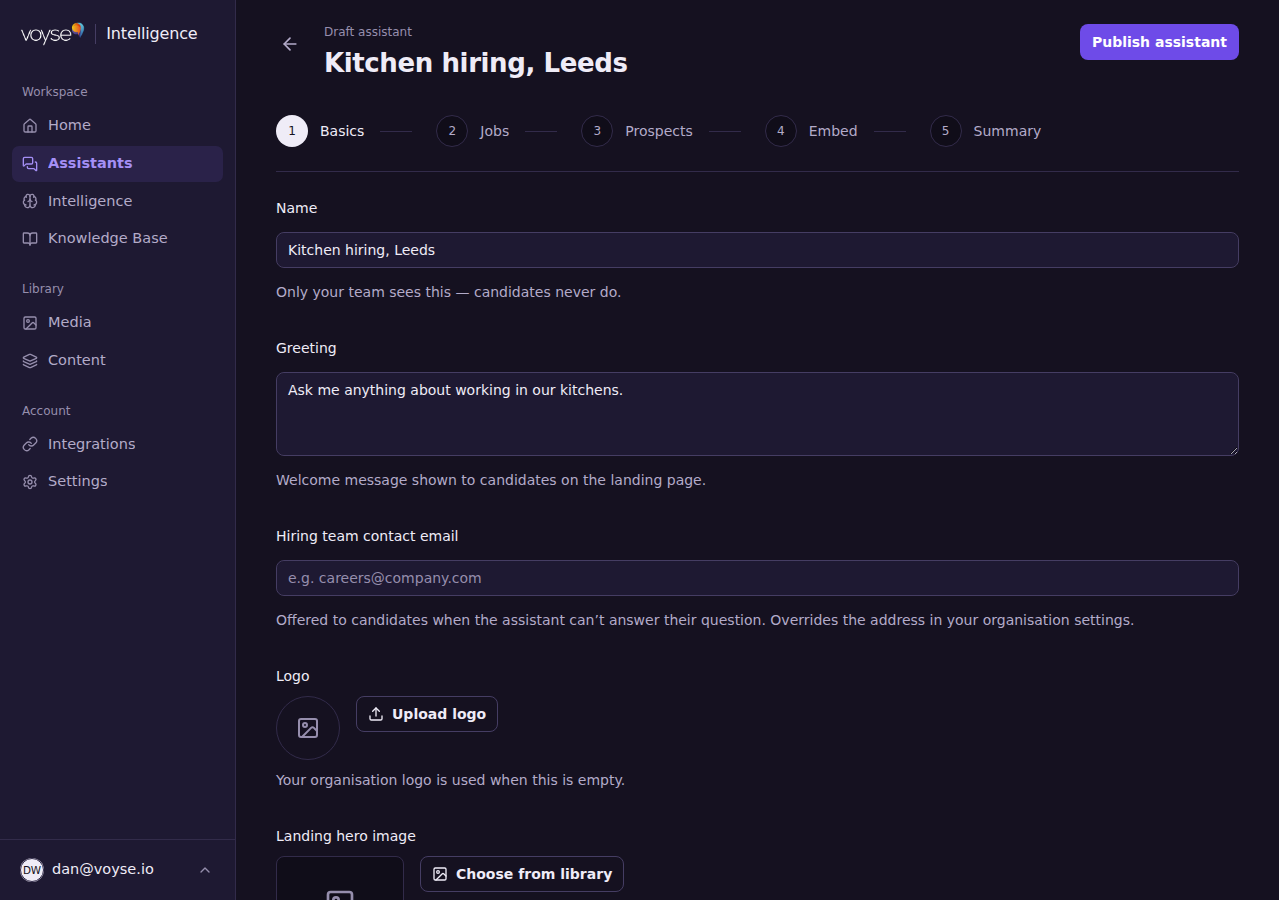
- Name it. Only your team sees this, so name it the way you'd refer to it in a meeting — "Kitchen hiring, Leeds" rather than something formal.
- Write the Greeting. This is the welcome message on the page candidates arrive at, and it's the one piece of copy that sets expectations. Say what they can ask about.
- Set the Hiring team contact email. When the assistant can't answer something, it offers this address instead of leaving the candidate stuck. It overrides the address in your organisation settings.
- Optionally add a Logo and a Landing hero image. Your organisation's logo is used if you leave the logo empty; the hero image sits at the top of the landing page.
- Choose a Theme — the colour scheme candidates see. System follows the candidate's own device setting; Light and Dark fix it; Dawn, Dusk, Ruby and Emerald are the branded schemes.
- Add up to four Example questions. These appear as suggested prompts on the landing page, and they do more work than anything else on it — a candidate who sees "What are the shift patterns?" understands immediately what this thing is for. Keep each under 80 characters.
Under Sharing previews you can control how the link looks when someone shares it, including the image and description.
Jobs
If your applicant tracking system is connected, your live roles appear here and candidates can search and ask about them. If it isn't, you'll see No ATS connected with a link through to Integrations — connect one and the roles appear on their own.
You can also place content blocks that show on every job: one above the job title, one below the job description. A carousel or video works above; benefits or a quote from the team work below.
This step needs a plan that includes job listings. If you don't see it, your plan doesn't cover it.
Prospects
Personalised links: a link that opens one role for one person, with an optional note from you. The people and roles come from your applicant tracking system, so this step needs one connected and permitted to share them.
Embed
How the assistant appears on your careers site, and the snippet that installs it. This is covered in full in Put your assistant in front of candidates.
Summary
The last look before candidates can see it. You'll see Ready to publish with a check on Basics completed and Jobs configured, and a summary of the name, greeting, theme and logo, each with Edit to go back.
Select Publish assistant. The banner changes to Your assistant is live, and the share options appear — its own link, a QR code, links to specific roles, and personalised links.
Changing it later
Open the assistant and edit any step. Changes aren't stored until you select Save changes — you'll be warned if you try to leave without it — and once saved they reach candidates immediately, including on a site where the assistant is already installed. There's nothing to re-paste.
To stop an assistant serving candidates, use Stop serving from its row in the list. Its link stops answering, the conversations already recorded are kept, and it moves to Ended.